Homemade 18650 battery pack
Aug 20, 2019 Pageview:1527
Fossil fuels are making a difference in the world. It seems as though fossil fuels will not be around a few years from now.
Lithium chemistry is the most prominent in modern batteries. Most of the mobile devices, RC toys, drones and medical devices are using them.
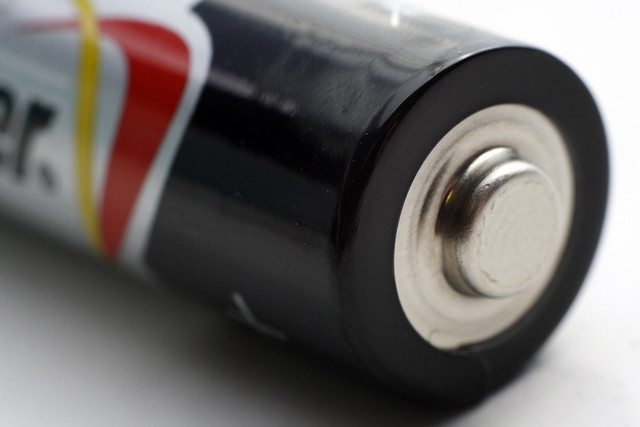
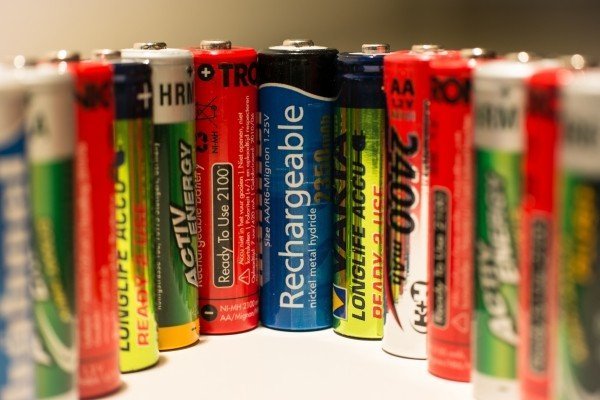
Among the lithium battery classification are the 18650 batteries. They measure 18mm diameter and 65mm length. And this is where their name comes from. They are a bit larger than AA batteries though a bit larger.
You can use 18650 batteries in items like Power Solar Generators. Their weight makes them a perfect solution for your energy needs.
But then, a single battery may not make it. You can make power banks, e-Bikes, Power Wall and many other items by combining several batteries into a single pack.
It is something you can right from the comfort of your home. With a few ideas, you don’t have to go buy. And we are going to show you how to do it in this guide.
How to DIY a 18650 battery pack
Step 1: get your materials together
You need the following items;
· New 18650 battery
· Battery management system (BMS)
· NI strips
· And indicator
· A rocker switch
· DC jack
· A battery holder
· Screws (3M by 10mm)
Apart from the materials, you will need the following tools to make your work easier.
· Spot Welder
· 3D printer
· A cutter
· A hot air blower
· A multimeter and
· A charger ( preferably Li-Ion)
And to make sure you work in a safe environment, have safety goggles and electrical gloves.
Step 2: Select the right batteries
The market is full of many 18659 battery cells types. They range from prices of $1 to $10. Finding the best might therefore be a bit of a challenge.
The first thing to consider is the brand. Consider branded companies like Panasonic, Samsung, Sanyo and LG. They may be costly, but definitely best in terms of quality, performance and service.
Avoid batteries with FIRE suffix. They include Ultrafire, Surefire and Trustfire.
Step 3: Get your strips
Since you are going to connect the batteries together, you need something to hold them. Nickel strip or thick wire will do well.
If you pick nickel strips, there are two types available: nickel-slated and pure nickel. The pure nickel is more expensive but may serve you much better. Check your current rating when choosing dimension and length.
Step 4: Choose you connecting option
Since you already have the wires, you have to choose between welding and soldering. We would advise you to choose spot welding. Soldering requires applying a lot of heat to the battery. Apart from this, it does not dissipate quickly. The cells will be quickly damaged because the chemical reactions will be increased.
But a spot welder is quite costly. Consider therefore soldering the nickel tabs together while taking precaution to get things in order.
Step 5: Ensure the voltage is set right
Do not connect the cells in parallel before checking the voltages. You need to ensure the voltages are as close to each other possible. For brand new cells, they should be between 3.5V to 3.7.
Step 6: getting the right capacity vs. voltage
Every pack must be set with the right nominal voltage and capacity. It is either in Volt, mAh/Ah or Wh. The right capacity is achieved by connecting the cells in parallel. And then get the nominal voltage by connecting the parallel groups in series.
Step 7: Assembly
Decide how may parallel groups you want. Let’s say you are using 3 parallel groups connected in series with 5 batteries in each parallel group. If each battery has 3400mAh, you will have 17000 mAh together.
You have 15 batteries; arrange them in way that makes an electrical connection. Use the BMS board for the step. The first parallel group should have the positive up, then the second negative up and the last with positive up, using a hot glue.
Step 8: Spot welding
Now it is time to use the spot welder. Consider the following steps:
· Cut the nickel strips. Lay them on top of the parallel groups, leaving about 10mm excess and cut. Connect the negative sides to the positive appropriately.
· Weld the strips. Adjust the pulse knob on the spot welder according to the size of the nickel strip.
Step 9: Add the BMS
The BMS is an important component that monitors the performance of your pack. It is simply a computerized control unit. There are two important parameters to consider here: the number of cells in series, 2S/3S/5S and the maximum discharge current, say 10A/20A/30A.
Step 10: Get 3D printed enclosure
Get the right enclosure for the batteries because exposed nickel can cause shorting.
Step 11: Wire your components
You have other components like the DC jack for input/output, a level indicator and a rocker switch for ON/OFF. Ensure you wire them to well to the BMS after installing the components in the enclosure.
Step 12: winding up
You it is time to do the finalization. Install the components in the slots on the enclosure. Use hot glue at the bottom to preventing loose connections. Screw the lids in place the then charge the pack.
Advantages of knowing about 18650 battery pack
There are many advantages to learning a few tricks about 18650 battery packs. Consider the following:
· It can help you spend less
· You get the capacity you want according to your needs
· You can avoid buying fake battery packs
· Because you may need to make a power ban for instance, for your laptop.
How to avoid buying a fake 18650 battery pack
There are many 18650 battery packs on the market. Unfortunately, not all of them are good. Some don’t even meet the standards of making such items. Therefore, consider the following to avoid fakes:
· Always check the brand. Battery packs from brands like Samsung, LG, Sony and other popular companies are expensive but offer the best service.
· Do not go for cheap, go for quality
· Consider who you are shopping from when getting it online. At least check the reputation of the store.
· Make your pack at home. We have shared the easiest way to DIY.
Now that you know how to DIY a 18650 battery pack, we hope you don’t have to get low quality items anymore. You can put together as many batteries as possible according to your needs.
- Prev Article: Self-Discharge Rate of Lithium-Ion Battery
- Next Article: How much do you know about Lipo Battery Charge Rate
Leave Message
Hottest Categories
-
Hottest Industry News
-
Latest Industry News


